How to configure a Webhook
Before you start
In order to configure webhooks, you need to have:
A valid echonovum account with the role
OwnerorIT officerAccess to the echonovum Analytics App
The necessary permissions to configure Action Automations
How webhooks are triggered
Currently, webhooks can only be triggered in conjunction with Action Automations. You therefore need to create an Action Automation that triggers a webhook.
Create a webhook configuration
To create a webhook, follow these steps:
Step 1: Log in to the echonovum Hub and navigate to the webhooks section
Log in to the echonovum Hub.
Navigate to the Integrations > Webhook section
Click on Create Webhook.
Step 2: Define the webhook

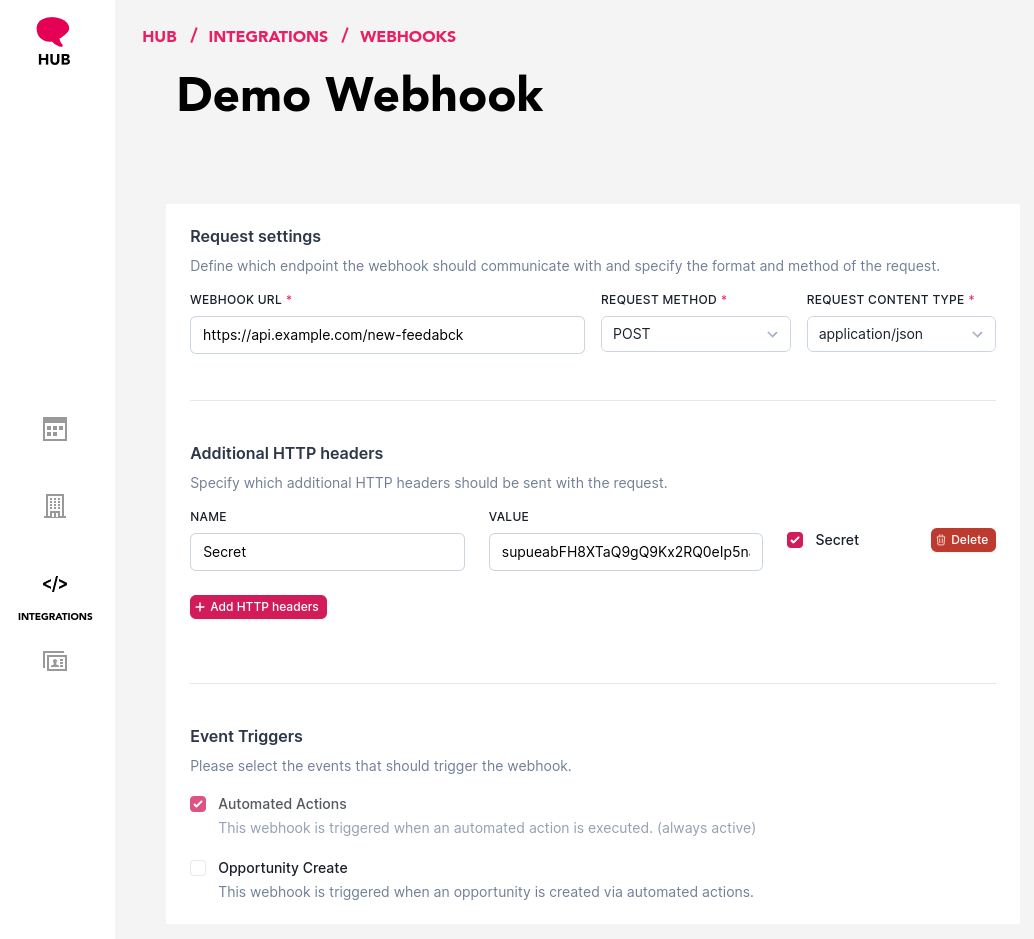
Define the webhook name by clicking on the
New WebhooktitleDefine the Webhook URL. This is the URL where the webhook will send the data to.
Define the Request Method. This is the HTTP method the webhook will use to send the data.
Define the Content Type. This is the format the data will be sent in.
Define additional HTTP headers if needed. E.g. for authentication purposes.
Save the webhook
Define the Action Automation
To create an action automation that triggers a webhook, follow these steps:
Step 1: Log in to the echonovum Analytics App and navigate to the Action Automation section
Log in to the echonovum Analytics App.
Navigate to the Action Automation section
Click on New Workflow.
Step 3: Define the Action Automation

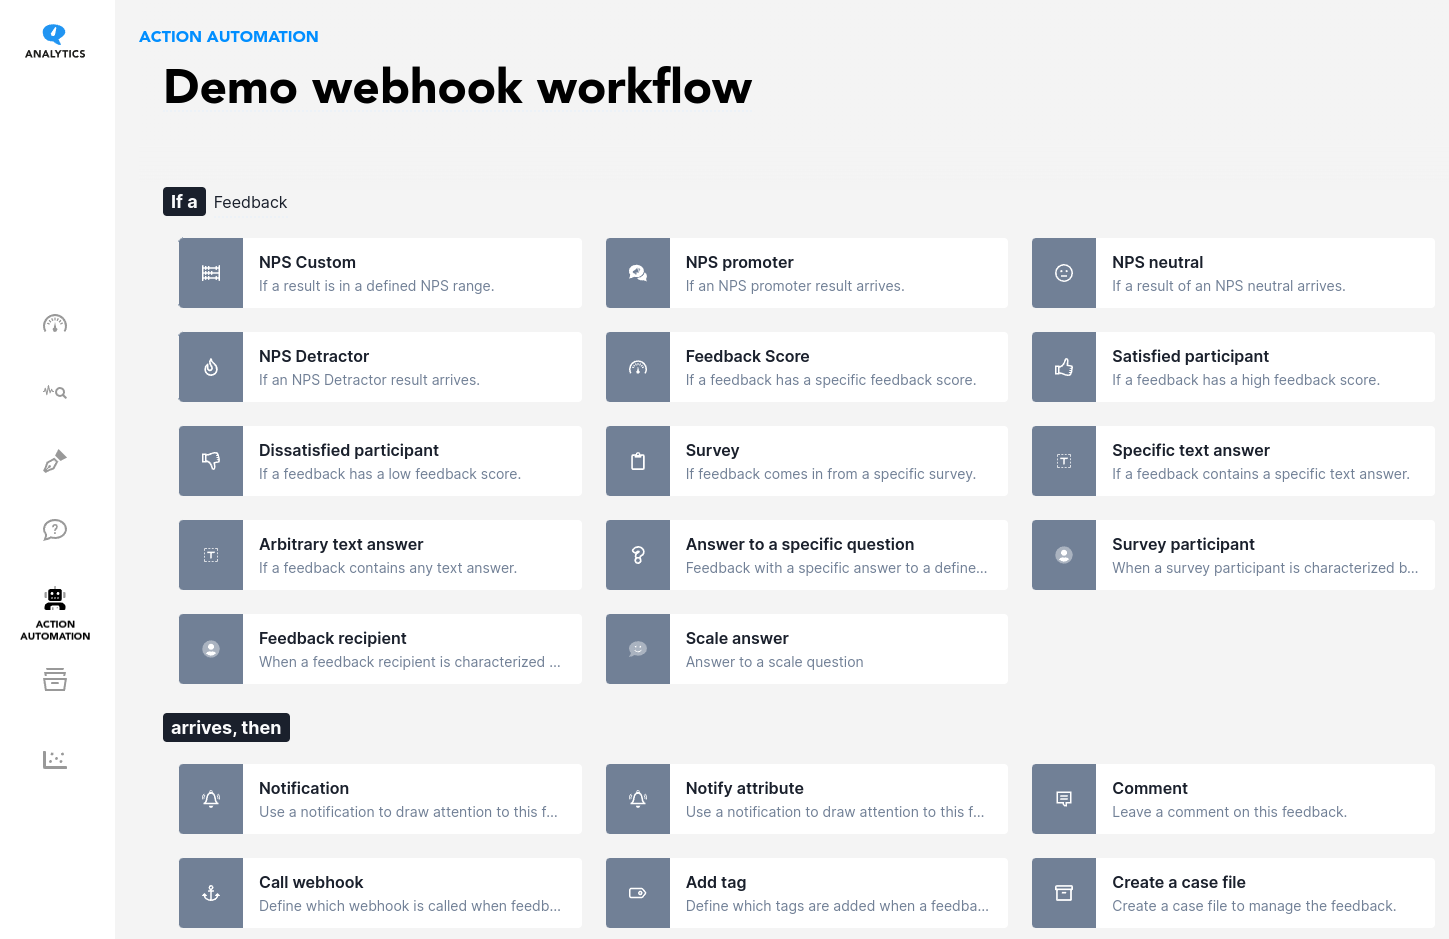
Define the name of the Action Automation by clicking on the
New WorkflowtitleSet the rules on when the webhook should be triggered
Add the
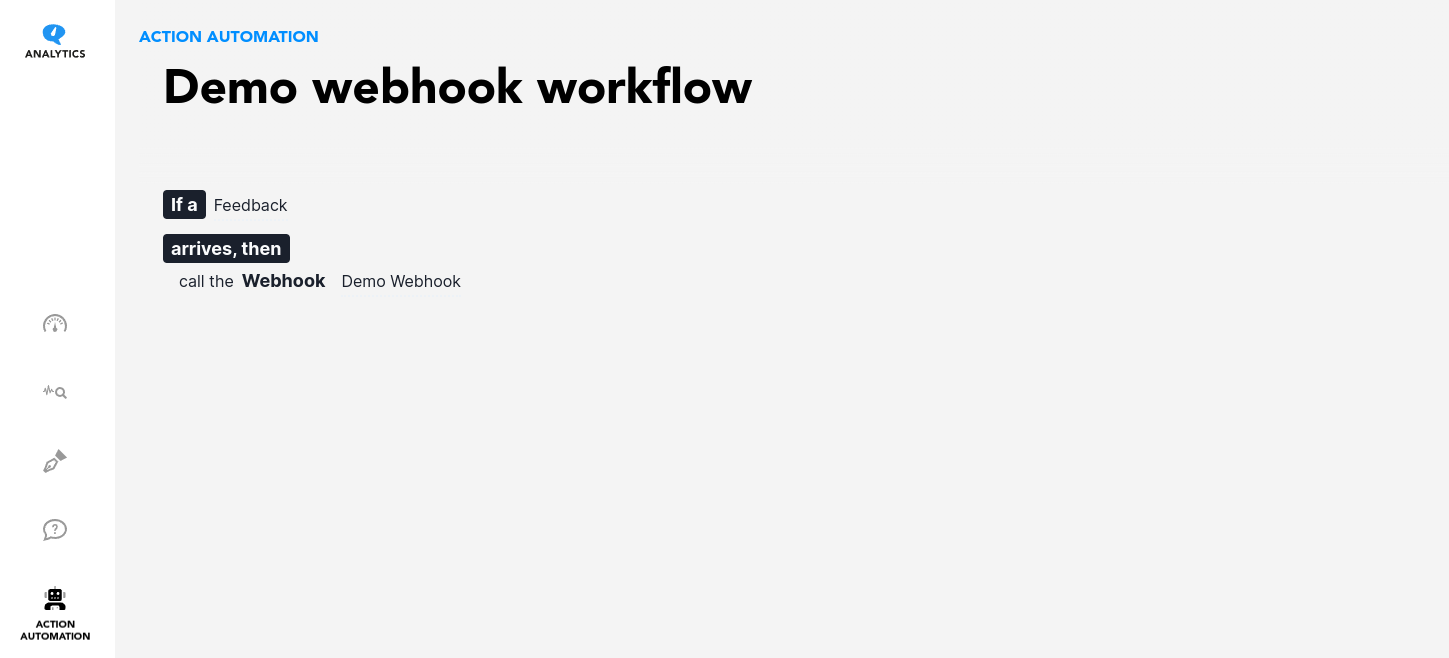
Call webhookaction and select the webhook you created in the previous stepSave the Action Automation and activate it by setting it status to
live.
Your result can for example look like this: 